Xploit Machine
Well-known member
- Joined
- Nov 29, 2022
- Messages
- 1,281
- Reaction score
- 108
This tutorial will show you how to add or remove the Windows E: Drive in the navigation pane of File Explorer for your account in Windows 11. All drives are shown under the This PC group in the navigation pane of File Explorer by default. Removable drives are shown as separate groups in the navigation pane of File Explorer by default in addition to being shown under the This PC group in the navigation pane.
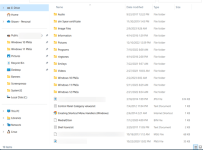
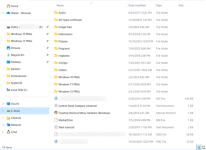
You could Pin to Quick access any drive to have it under the Home group in the navigation pane. If you like, you can add the E: Drive as its own separate group to the top or bottom of the navigation pane of File Explorer for even easier and faster access.
Example - "E: Drive" at top or bottom of navigation pane in File Explorer
- Save the .reg file to your desktop.
- Double click/tap on the downloaded .reg file to merge it.
- When prompted, click/tap on Run, Yes (UAC), Yes, and OK to approve the merge.
- If File Explorer is currently open, then close and reopen File Explorer to apply.
- You can now delete the downloaded .reg file if you like.
Thanks to Shawn Brink


